How to Paint ATV Plastics? (Best Spray Paint)
This post may contain affiliate links. That means if you click and buy, we may receive a small commission (at zero cost to you). Please see our full disclosure policy for details.
Sometimes, you want to change your ATV’s look without buying new plastics. Painting your existing plastics is a cost-effective option that can refresh your bike’s appearance and protect the surfaces from wear, tear, and inevitable scratches. Before starting, users on forums top contributors recommend removing decals and cleaning the plastics thoroughly to ensure the best results.
To paint ATV plastics effectively, start by selecting a high-quality ATV spray paint designed specifically for flexible surfaces. Remove the rear plastic and other plastic parts from your ATV carefully to ensure even paint coverage. Before painting, thoroughly clean the plastics to remove dirt, mud, grease, and any residues that could interfere with adhesion. Use a mild detergent and warm water, scrubbing with steel wool to scuff the surface gently, then rinse and wipe dry completely. Cleaning the plastic with dish soap and steel wool is essential to ensure the paint adheres properly and lasts longer.
Next, sand the plastics lightly using fine-grit sandpaper or steel wool to create a slightly rough surface. This helps the spray paint bond better. For optimal results, wet sand with 320 or 400 grit sandpaper to remove any shine or wax left on the surface. If necessary, apply a primer made specifically to paint plastics, especially if you’re working with white or flat black paint. This step improves durability and color vibrancy.
Some riders even insert quotes related threads on how to improve adhesion using a paint stripper or flame treatment. While powder coating may be an option for metal frames or rims, it’s not ideal for flexible ATV plastics—spray paint is a lot cheaper and more practical for this application.
When applying the spray, hold the can about 6–8 inches away from the surface and apply in several light coats rather than one thick one. Insert alignment list if needed for visual guide. Spray from the bottom up to avoid drips, moving the can steadily and overlapping each pass. Painting under the right conditions—65–70°F and dry air—is the most important thing for a successful paint job. Applying 4-6 light, wet coats of paint is advised for best results, as this ensures even coverage and a smooth finish.
Hang or place the fenders, foot pegs, and other parts in a ventilated area. Let each coat wait 15–30 minutes before applying the next. Most spray paints, including Krylon Fusion paint, dry to the touch quickly, but a full cure may take 24 hours. For Krylon paint, it’s recommended to wait 7 days before exposing to mud, ride conditions, or dirt. This allows the paint job to harden and resist scratch, chip, or rattle damage. However, the paint can chip if subjected to heavy mud or pressure, particularly after initial applications or insufficient curing time, so handle the painted parts with care during this period.
Avoid washing or using harsh cleaners right after painting. Use a clear coat or clearcoat for added shine and protection, especially over white paint or colored finishes. A professional-grade clear coat (instead of rattle cans) applied with a gun can help seal the finish for longer-lasting results. Users suggest that wet sanding between coats of Krylon Fusion can improve the final finish and durability, ensuring a smoother and more polished appearance.
Following these how to steps gives your ATV a durable, clean paint job that resists scratch damage, holds up on rough terrain, and looks far better than faded plastics. Even with a bit of wear, a new paint finish looks a lot better than old, worn panels.
Best Spray Paints for ATV Plastic
Now that you know how to paint your plastic quickly, you might be looking for the best paints to use. We’ve carried out all the heavy work for you once more and have compiled five of the best spray paints for ATV and motorcycle frames for you to make your choice.
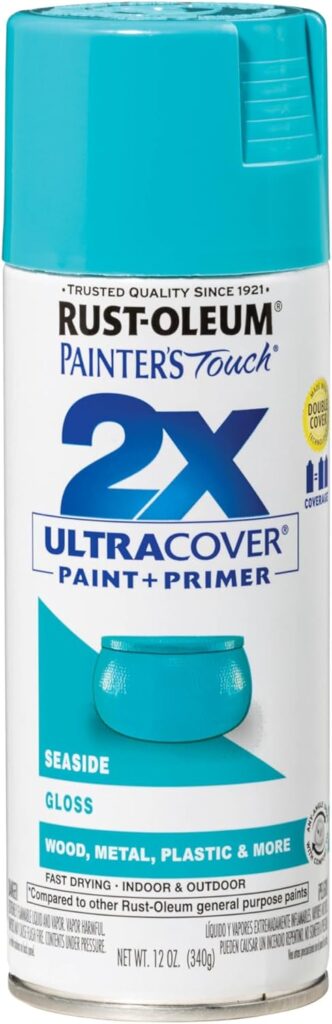
1. Rust-Oleum 276116
You can find many paints in the markets, but this is one of the best; its most noticeable feature is the bright, vibrant color it comes in. With this plastic paint, you don’t have to use a primer. It sticks immediately; ensure the surface being painted has been cleaned up and is relatively smooth. It comes with a gloss finish that pops out its classy colors; it is also known to last a long time, so you have nothing to worry about with this spray paint. This paint is specially formulated to adhere well to plastic surfaces, providing a durable coating that resists chipping and fading even under harsh outdoor conditions. Its quick-drying formula allows for multiple light coats to be applied in a short period, ensuring a smooth, even finish without runs or drips. Whether you’re touching up scratched plastics or giving your ATV a complete makeover, this paint delivers professional results that stand the test of time.
Top Features
- Gloss finish
- It can be used from different angles to get the same result
- Ideal for different types of surfaces
- Works for both internal and external surfaces
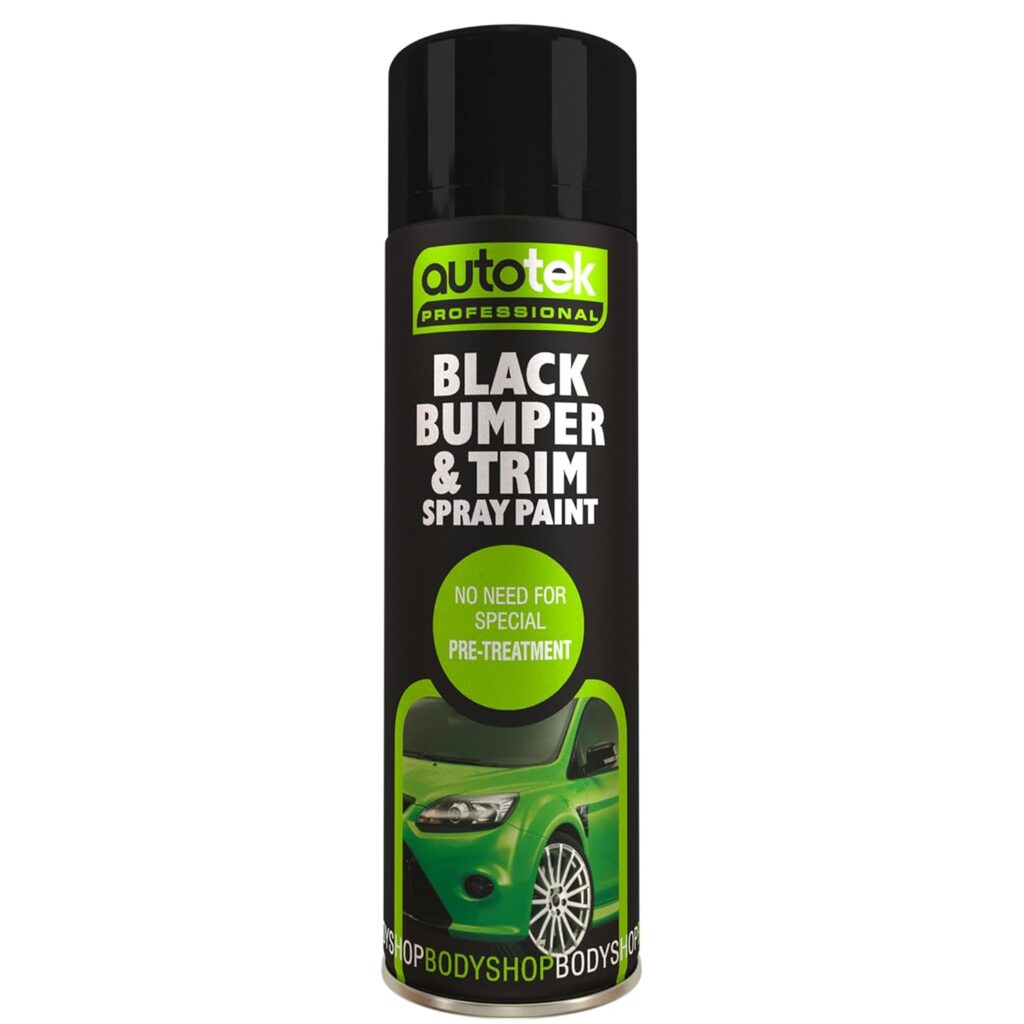
2. Autotek AT00BTB500
Another spray paint you can use for your ATV would be the Autotek AT00BTB500. Made with top-notch quality, it will give your painting a glossy finish that enhances the overall look of your ATV. This paint is designed with high adhesion properties, ensuring that it bonds well to plastic surfaces, which significantly reduces the chances of peeling or chipping over time. Its flexibility allows it to withstand the natural flexing and vibrations experienced by ATV plastics during rides, making it a durable choice for off-road conditions. Additionally, this paint is formulated to resist harsh weather elements such as rain, sun exposure, and temperature fluctuations, which means your paint job will maintain its vibrant color and protective qualities for a long time. Thanks to its high covering power, you can achieve excellent results with fewer coats, saving you time and paint. Many ATV owners appreciate this paint for its reliability and the professional finish it delivers, making it a popular choice for both touch-ups and complete plastic repainting projects.
Top Features
- High covering power
- High adhesion
- Resistant to extreme weather
- Long-lasting
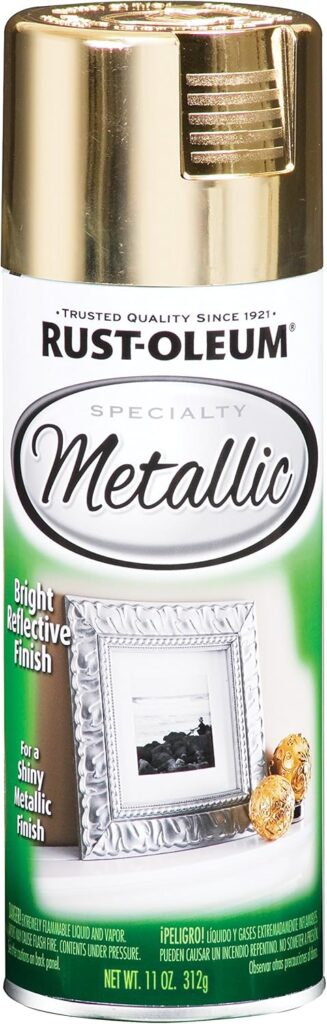
3. Rust-Oleum 1910830
One of the best quality paint you can find out there is the Rust-Oleum 1910830 paint; it is guaranteed to give you a glossy finish and dry off after fifteen minutes of making use of it. If you’re looking for paint that will dry pretty quickly, this is it. It also gives your ATV plastic parts a metallic look after you paint them up; the formula was produced with real metal flakes to ensure it provides your plastic parts a classy look after drying up. This paint is not only visually striking but also highly durable, designed to withstand the rough conditions that ATVs often encounter. Its quick-drying nature allows you to apply multiple coats in a shorter amount of time, making your painting project more efficient. Additionally, the Rust-Oleum 1910830 offers excellent adhesion to plastic surfaces, reducing the chances of peeling or chipping even after extended use. Whether you’re refreshing old plastics or customizing your ATV, this paint delivers a professional, long-lasting finish that enhances both appearance and protection.
Top Features
- Metallic look
- Gloss finishing
- Multifunctional
- Dries within 15 minutes
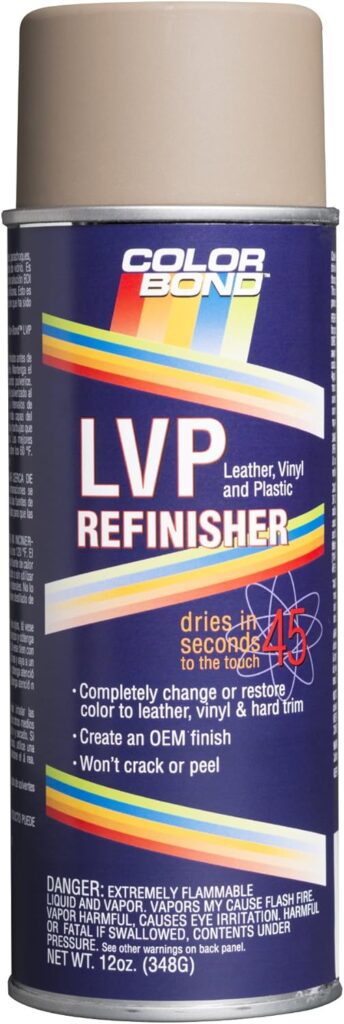
4. Colorbond 258 BMW
This paint is ideal for ATVs; it is long-lasting and created to fit perfectly on an ATV plastic. Of course, this paint requires a lot of cleaning, sanding up, and primer before you get down to the painting, but once it is done, you can count on your paint to last a very long time. It doesn’t fade or even crack after you utilize it. The best part is that it isn’t water-soluble and is very affordable. This makes it an excellent choice for riders who want a durable finish without breaking the bank. Additionally, its resistance to fading and cracking ensures that your ATV plastics maintain their fresh, vibrant appearance even after prolonged exposure to sunlight, mud, and rough terrain. Proper surface preparation, including thorough cleaning and sanding, is essential to achieve the best adhesion and durability. This paint also provides a smooth, glossy finish that enhances the overall look of your ATV, giving it a professional and polished appearance that stands out on the trails.
Top Features
- Dries with ten minutes
- Gloss finishing
- Long-lasting
- Non-water soluble
5. Krylon SUPERMAXX Paint
This is the first Krylon on our list, and it promises to prevent rust from your plastic from the very minute you apply the paint on your ATV plastic. This paint doesn’t require any sanding or priming whatsoever; it lasts for a very long time and comes with superior adhesion that keeps your paint intact throughout the year. With users in mind, this spray comes with a simple spray tip to prevent fatigue in your fingers, making it easier to apply even for extended periods. It also comes in different colors and dries up within thirty minutes of being used, allowing you to apply multiple light coats quickly for a smooth, professional finish. Additionally, users report that paint repairs with Krylon Fusion “melt” into previous coats, making repairs seamless after wet sanding, which is especially useful for maintaining a polished look over time.
Top Features
- Long-lasting
- Spray tip
- Superior adhesion
- Protection against rust

ATV Plastic Painting Techniques
Users are looking for effective methods and tips for painting ATV plastics, including preparation, paint selection, and application techniques to achieve durable results.
Wet sanding the entire plastic surface with 600 grit paper is suggested to prepare it for painting. This step smooths out imperfections and creates a slightly rough texture that helps the paint adhere better to the plastic. It’s important to sand evenly and avoid creating deep scratches that could show through the paint.
Using a flame spreader on the plastic before painting can enhance adhesion of the paint. This technique involves carefully passing a flame over the plastic surface to slightly melt and alter it, promoting better paint bonding. However, it requires caution to avoid warping or damaging the plastic, and should be done in a well-ventilated area with proper safety equipment.
A Methylene Chloride based paint remover can be effective in preparing plastics for painting. This chemical helps remove old paint, contaminants, and residues that may interfere with new paint adhesion. Due to its harsh nature, it should be used with gloves and eye protection, and the plastic must be thoroughly rinsed and dried afterward.
Scrubbing the plastic with 000 steel wool helps improve adhesion before painting. This fine abrasive action removes surface contaminants and lightly scuffs the plastic to provide a better grip for the paint. It is typically done after chemical cleaning and before the final wipe down.
Wipe down the plastic with mineral spirits before painting to ensure it is free from contaminants. Mineral spirits dissolve oils, grease, and dust that might remain after sanding and scrubbing. Using a lint-free cloth for wiping helps prevent fibers from sticking to the surface.
Using a foam disc with a fast hand drill helps to achieve a brilliant shine on the finished paint. After the paint has fully cured, wet sanding with progressively finer grits followed by buffing with a foam pad and polishing compound can restore a smooth, glossy finish that enhances durability and appearance.
By following these preparation and finishing techniques, ATV owners can achieve a professional-looking paint job that holds up well against the rigors of off-road use, protecting the plastics and improving the vehicle’s overall aesthetic.
Durability of Spray Paint on Plastics
Users want to understand how well different types of spray paint hold up on plastic surfaces, particularly in off-road conditions, and what factors affect longevity.
Paint repairs utilizing Krylon Fusion can blend into previous coats, making the repairs nearly invisible after wet sanding and compounding. This feature is especially useful for ATV owners who frequently encounter scratches and chips during rides, allowing them to maintain a clean and polished look without needing a full repaint.
However, it’s important to note that Krylon Fusion paint is not gas resistant, and spills can lift or damage the paint if not quickly addressed. Therefore, extra caution should be taken when refueling or handling fuel near painted plastics. Applying a clearcoat over the Krylon Fusion paint can provide additional protection against fuel spills and minor abrasions, helping to extend the paint’s durability.
The durability of spray paint on plastics also heavily depends on proper surface preparation. Thorough cleaning, sanding, and removing contaminants like oils or waxes are crucial steps to ensure strong adhesion and prevent premature chipping or peeling. Techniques such as wet sanding with fine-grit sandpaper, flame treatment, and using a methylene chloride-based paint remover can significantly improve paint adhesion.
Environmental factors like humidity and temperature during painting and curing also play a role in paint longevity. Painting in optimal conditions (around 65-70°F with low humidity) helps the paint cure properly, resulting in a harder, more durable finish.
Overall, while spray paints like Krylon Fusion offer a cost-effective and relatively durable solution for painting ATV plastics, users should be aware of their limitations and take appropriate steps in preparation, application, and maintenance to maximize the lifespan of their paint job.
Preparation for Painting Plastics
Prep is the most important thing in any paint job. Use dish soap and steel wool for cleaning. Then wet sand, flame treat if needed, and wipe down with mineral spirits.
Use a paint stripper for old coatings. Then scuff with steel wool and sand with 600 grit. If the water beads, the surface is ready. You can optionally insert quotes related threads or share discussion starter posts from ATV forums for peer advice.
Priming isn’t always needed with Krylon Fusion paint or Krylon paint, but it can help, especially with white paint or flat black finishes. Whether you’re painting rear plastic, foot pegs, or the frame, the right spray paint and prep will make all the difference.
Frequently Asked Questions
Can you paint ATV plastic? Yes, you can; the key is to clean the plastic thoroughly, sand it properly, and remove all contaminants before painting. This preparation ensures that the paint adheres well and lasts longer, providing a smooth and durable finish.
Can you clear coat an ATV plastic? Yes, you can apply a clear coat to ATV plastics to protect the paint and enhance its shine. However, it is recommended not to use spray cans for clear coating; instead, use a professional-grade clear coat applied with a spray gun for better durability. Always follow proper preparation steps, such as cleaning and lightly sanding the painted surface, before applying the clear coat to ensure optimal adhesion and longevity.
Do you need a primer to spray your ATV plastic? Using a primer is often beneficial when painting ATV plastics because it improves paint adhesion and extends the life of the paint job. However, some modern paints, such as specialized plastic spray paints, are formulated to adhere well without a primer. It’s important to check the paint manufacturer’s recommendations. When a primer is used, select one designed specifically for plastics to avoid peeling or cracking.
Proper preparation, including cleaning, sanding, and priming (if necessary), combined with the right choice of paint and clear coat, will result in a professional-looking, durable finish that can withstand the rigors of off-road riding.
Final Thoughts
If you’ve had to guess or say “holy crap” trying to figure this out, hopefully this post cleared it up. The important thing is to use the right prep, products, and techniques. A proper paint job on your ATV will not only protect it from inevitable scratches but also give it a fresh, clean look.
Whether you’re painting fenders, rear plastic, or foot pegs, this guide shows you exactly how to do it—no drafts, no confusion, just results that last.
- How to Start an ATV Without a Key?
- 10 Best ATV Snow Plows
- 10 Best ATV Gun Racks
- 10 Best ATV Baskets
- 9 Best ATV Trailers
- 10 Best LED Light Bars for ATV
- 10 Best ATV Winches
- 2020 Polaris RZR XP 4 Turbo Specs, Review (Video)
- 10 Best ATV Spreaders
- 5 Best ATVs For Trail Riding
- Best ATV Trailers & Carts